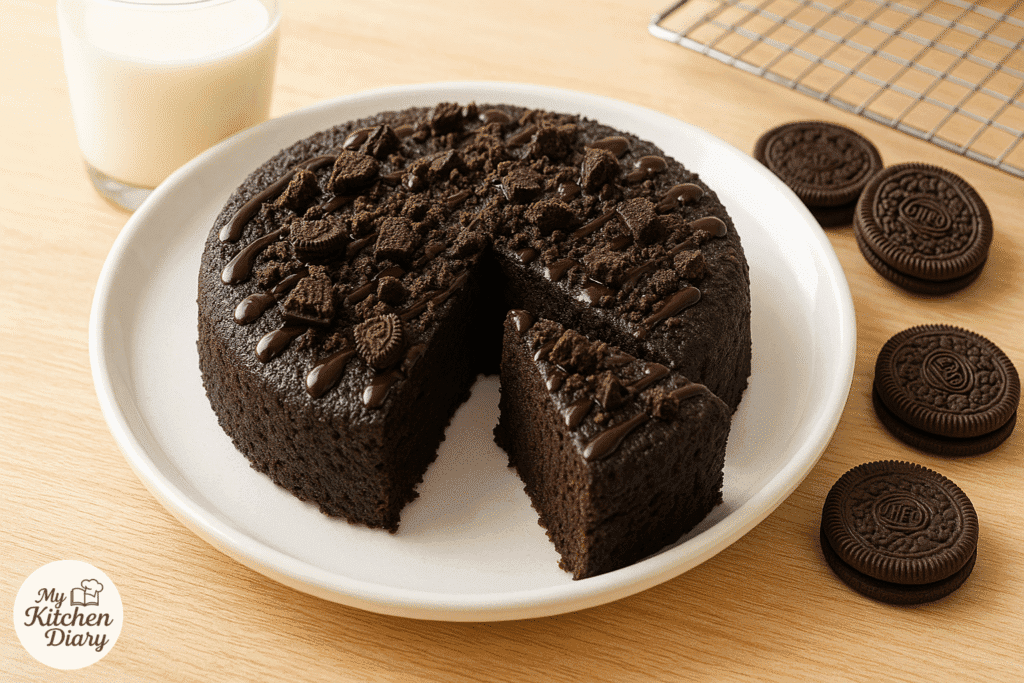
Craving a rich, chocolatey cake but don’t have an oven (or even cake flour)? Say hello to the ultimate Oreo Biscuit Cake — soft, moist, and made with just a few basic ingredients. This no-fuss recipe has gone viral for a reason: it’s eggless, no oven needed, and ready in minutes. Perfect for late-night dessert cravings, beginner bakers, or a quick treat for kids, this Oreo cake proves you don’t need fancy tools or ingredients to bake something truly delicious.
PREP TIME COOK TIME 5 MIN 15 MIN
Ingredients: For the Oreo Biscuit Cake:
2 packets (20–24 biscuits) Oreo cookies ½ cup milk (room temperature; adjust as needed) 1 tsp baking powder (or ½ tsp Eno fruit salt)
Optional Toppings (for decoration):
Chocolate syrup Crushed Oreos Chopped nuts Whipped cream or sprinkles
Equipments:
Step-by-Step Guide
Step 1: Prepare the Base Mixture
Add the Oreo biscuits (with cream) into a blender or food processor.
Blend into a fine powder. Make sure there are no large chunks left.
Step 2: Make the Cake Batter
Transfer the powdered Oreos to a mixing bowl.
Gradually add ½ cup milk while stirring to make a smooth, thick batter.
Add 1 tsp baking powder (or ½ tsp Eno) and mix gently.
The batter should be lump-free and pourable but not runny.
Step 3: Grease & Pour
Grease a small cake tin or a steel bowl with oil or butter.
Pour the batter into the greased container and tap gently to remove air bubbles.
Step 4: Preheat the Cooker
Place a wire stand or steel ring at the bottom of a pressure cooker or deep pan.
Do not add water.
Preheat on medium flame for 5 minutes without the cooker’s whistle or gasket.
Step 5: Bake the Cake (No Oven Style)
Carefully place the cake tin inside the preheated cooker.
Cover with the lid (no whistle).
Cook on low to medium flame for 12–15 minutes or until a toothpick comes out clean.
Step 6: Cool & Unmould
Remove the cake from the cooker and let it cool for 10 minutes.
Gently loosen the edges with a knife and unmould onto a plate.
Step 7: Decorate & Serve
Drizzle chocolate syrup on top.
Sprinkle crushed Oreos, chopped nuts, or whipped cream if desired.
Slice and serve warm or chilled.
Chef’s Notes & Cooking Tips
Use Any Chocolate Cream Biscuit: No Oreos? Bourbon, Hide & Seek Fab, or any cream-filled chocolate biscuit works just as well!No Baking Powder? Use ½ tsp Eno (fruit salt) instead — gives the same fluffy texture.Don’t Overcook: Overcooking makes the cake dry. Start checking at the 12-minute mark with a toothpick.Microwave Version: Microwave for 1.5 to 2 minutes in a microwave-safe mug or bowl for a single-serve option.Add Chocolate Chips for Extra Gooeyness: Stir in a few dark chocolate chips into the batter before baking.Make it Vegan: Use plant-based milk like almond or oat milk and vegan chocolate biscuits.
Serving Suggestions
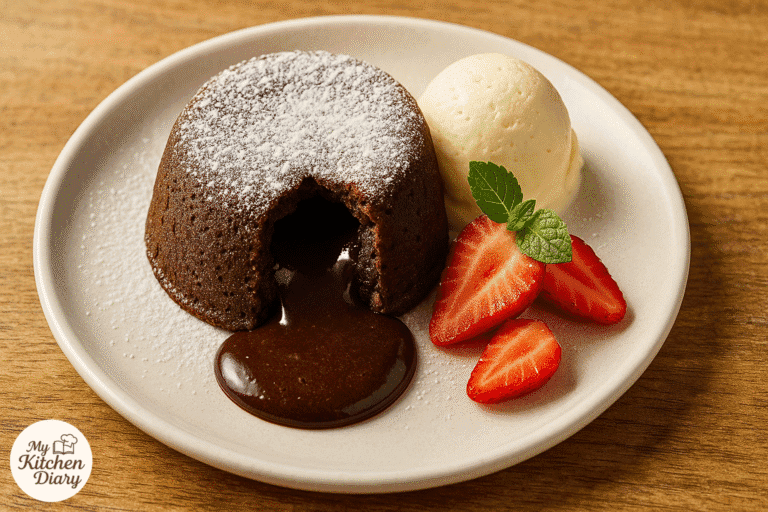
Classic Style: Serve warm slices with a drizzle of chocolate syrup and a sprinkle of crushed Oreos.Chilled Treat: Refrigerate for an hour and serve cold with whipped cream or vanilla ice cream on the side.Party Dessert: Cut into bite-sized cubes, insert toothpicks, and serve as mini chocolate bites at parties.Café-Style Plating: Dust with powdered sugar and pair with a cappuccino or hot chocolate for that café vibe.Add Fruit for Freshness: Top with sliced strawberries or bananas for a fruity twist.
Nutrition Information (Estimated) :
Nutrient Amount (approx.) Calories 250 kcal Protein 3 g Carbohydrates 36 g Sugars 18 g Fat 10 g Saturated Fat 3 g Fiber 1 g Sodium 190 mg Cholesterol 0 mg
Note: Values may vary based on exact ingredients and portion size.